
M.S. Bodleian 264, Fol 127 V
This post is going to show how to achieve 4 different Medieval French hairstyles with a few modern materials (because, dear readers, the author does not like the idea of sharp pointy hairpins in her hair. At all.).
The Hairstyles in question are four, but the main style of braid for all is a simple three-strand braid.
If you do not know how to do a three-strand braid, please bookmark this page, google "Three Strand Braid", and come back when you've figured it out.
The style is the somewhat silly-looking 'doggy ears' braided style featured frequently in 14th century manuscripts. The picture for today is from the Romance of Alexander, housed in the Bodleian Library's Manuscript collection. It's dated to about 1340, which just so happens to be one of my favorite time periods in French History. I will be showing how to do this hairstyle, as well as how to wear it with a veil, wear as side-swirl buns, and how to achieve that 'medieval goddess' style.
To begin...
Materials:
1. Comb
2. Bobby Pins
3. Hair elastics (2 or 4, depending on the style attempted).
4. Hair clips- to secure hair during the process only.
5. Hair that is long enough to wrap around to the back of your head.
A few notes...
My hair is about 27" and is almost too short. You should also make sure your hair is in 'braiding condition'- in other words, the condition in which your hair braids in a neat fashion. My hair was about half-dry in the following photos and was almost too dry. I don't like braiding my hair sopping-wet-freshly-washed as it is too heavy.
Also, I would highly recommend dressing your hair while wearing your chemise/shift/underwear and before you put on your 14th century clothing. Once you get used to the styles, the process will go faster and faster.
Additional items
A. A circlet or Coronet
B. A veil or wimple.
C. A fillet band (it's like a headband that you use to secure your veil with pins.)
In the future, I will be doing a post on using fake hair.
Step One

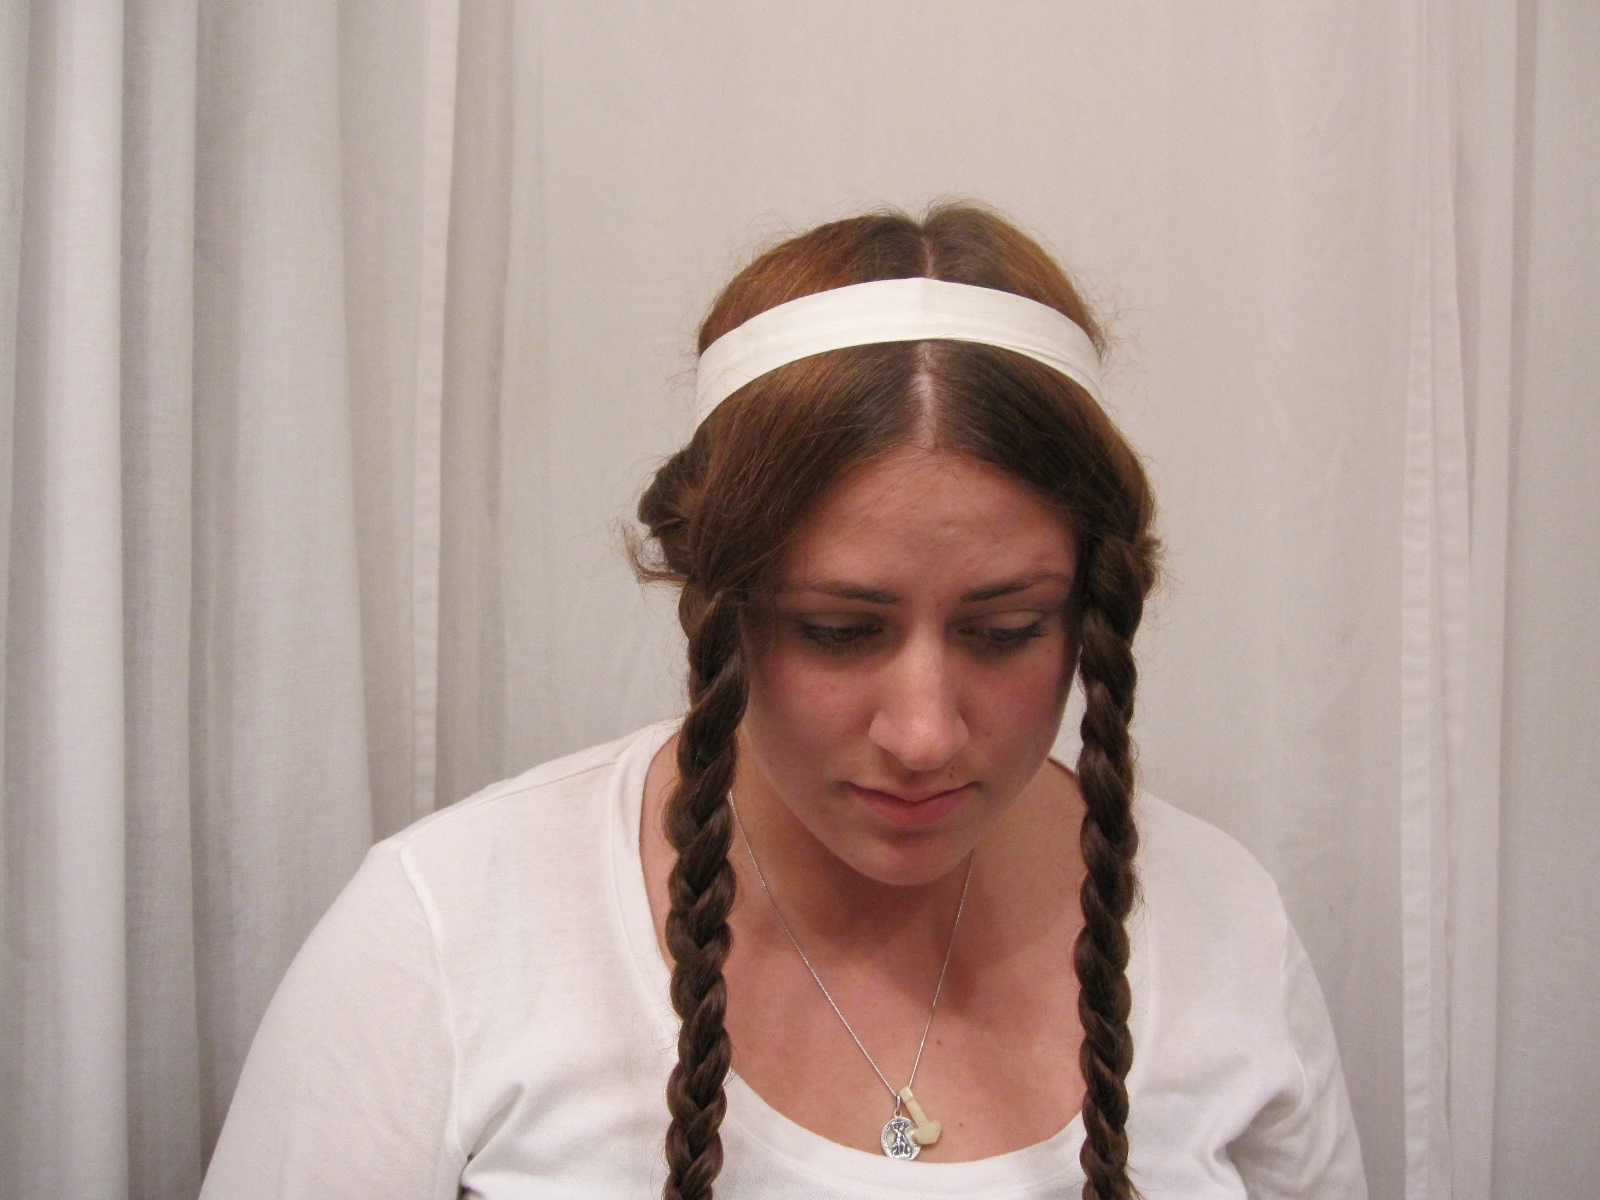
Comb out your hair then divide into two equal sections, using a center part from the front of your hair to the back. Secure the left (or right. In the photo I secured the left) with a hair clip. Comb the right side forward, combing the hair above your ears so that the braid will begin at the temple.
Step One-B

If you'd like to go for the 'medieval goddess' or young lady look of long, flowing hair, try this: instead of just braiding the right side, further divide the right into an upper half and lower half. Braid the two halves separately, secure, and repeat for the left side. Let hair dry thoroughly and remove braids. Voila, medieval goddess hair!
Step Two

Braid the right side hair, keeping the braid as neat as possible. Secure with a hair elastic.
Step Three

Braid the left as you braided the right and secure with the other elastic.
At this point, if you're planning on only wearing a coronet, skip to Step Five .
If you'd like to have side-swirl buns, skip to Step Ten.
Step Four

Tie or pin on your fillet band. It really should be secured under the chin, instead of around the head like I have it, but I really don't like the look it gives me when it goes under my chin. Tie or pin it however you prefer, after trying both ways.
Step Five

 |
| Back View |
Take the end of the right braid and trail it across the bottom of the back of your head, and secure with bobby pins. It might take some fidgeting to get the level of the braid correct. Use as many bobby pins as you deem necessary. I overuse them, simply so I don't have to mess with my hair during the day.
Step Six

Repeat Step Five but with the other side. At this point, you could have a finished hairstyle if you had just planned on wearing a Coronet and no veil.
Now at this point, you might be saying, 'Hey! That doesn't look like the manuscript!' You're right. My hair isn't long enough to do the weird foldy-thing they do in the manuscript. Like I said, I'll be doing a fake hair post later.
Step Seven


Secure your veil to your fillet band with veil pins.
Step Eight

Check your veil placement. You could also stop at this point for a simple veiled style.
Step Nine

Add your circlet or Coronet.
Ta Da!
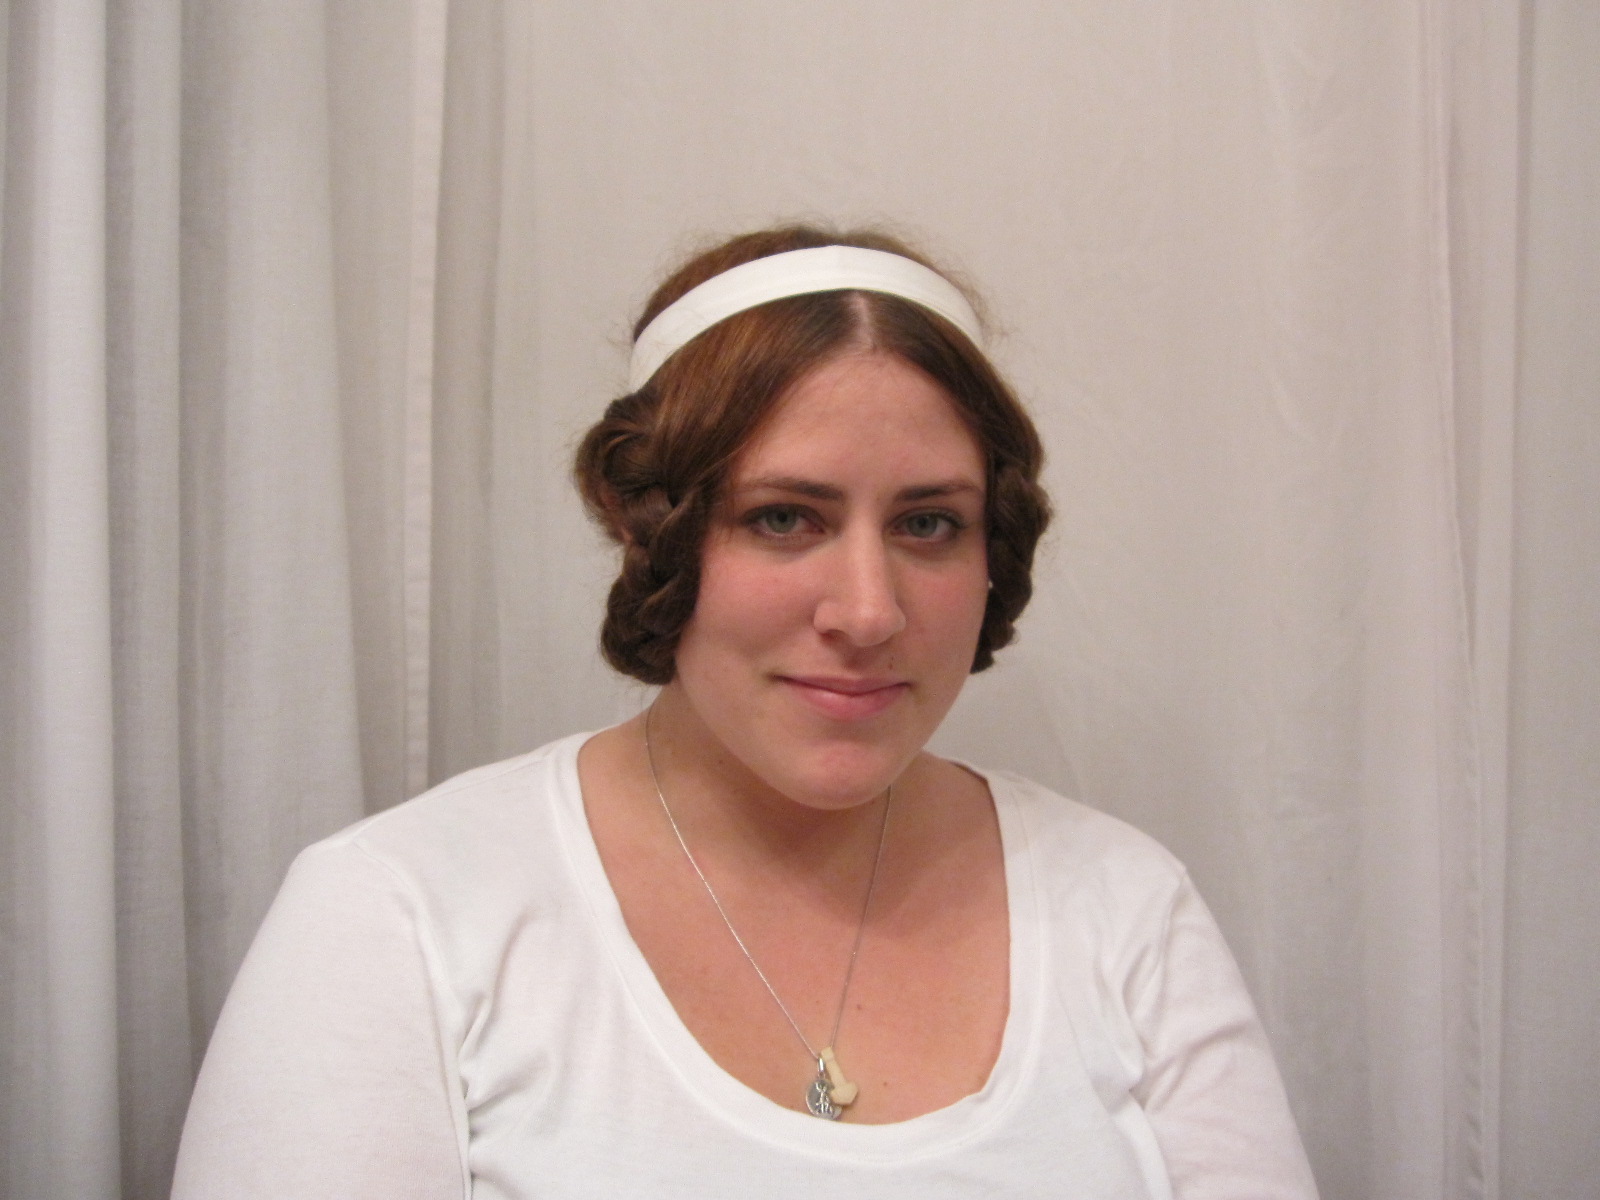
Step Ten


Side Swirl Buns!
After having braided your hair, start swirling the braid, going down and back (clockwise), as if you were putting your hair in a bun. Secure with bobby pins as you go along.
Step Eleven

Repeat on the other side. Add a circlet or Coronet.
Step Twelve
This is a bit of a 'bonus', speculative hairstyle. I've only seen it portrayed as a line drawing and not in a manuscript or effigy.Yet.

Take your veil and toss it on sideways. Put the circlet on top.

Take the veil tail and drape it across the front and secure underneath the circlet.

And go about your business!
I hope this tutorial has brought some inspiration to your hairstyles.
If you have any questions, please leave a comment!
The "wimple band" to which you refer is probably a fillet. It is also commonly worn along with barbette. Great tute!
ReplyDeleteSee, I knew it had a name! I'll go and fix it! :)
ReplyDeleteAh, this is a wonderful tutorial. I've been dithering around the idea of doing a little research project on 1340s-80s ish hairstyles, so it's wonderful to see some other takes on it.
ReplyDeleteI've just had a 'duh!' moment when I saw the back-of-the-head photo where you've pinned the two plaits horizontally. Stupid me just couldn't figure how to do that bit properly.
I guess my main problem is rather the opposite of yours - my hair is too long for the style. I arrange the plaits in the correct way and still have massive tails that hang out and get in the way.
Instead of pinning, you could use a large blunt needle and thick thread to sew your hair in place. It's more comfortable than pinning (straight pins or modern hair/bobby pins) and easy to do. There's some research that indicates sewing is the method for achieving Roman hairstyles, and there's no reason it isn't accurate for medieval styles, since hairpins weren't created until the 1700's.
ReplyDeleteThis is so beautiful! And you did a WONDERFUL job on your tutorial!
ReplyDeleteHelen
Blue Eyed Beauty Blog
Lovely, Thank you!
ReplyDeleteLove this!!! I wasn't sure how to properly wear a veil but this gives me a good idea. Could you also leave the braids loose and flowing down the front?
ReplyDeleteWhere do you play?
ReplyDelete